Learning how to take screenshot on Dell laptop or desktop computer can be a handy way to capture important information or share images with others. In this article, we’ll show you how to screenshot on Dell laptops and computers running on Windows 10 or 11, Windows 8.
What is a Screenshot?
Screenshots are incredibly useful tools in today’s digital age. They allow you to capture an image of exactly what is displayed on your computer screen. The value of screenshots lies in their ability to visually communicate information in a way that is both clear and engaging. With just a quick picture, you can share more information and convey it in a way that is easy to understand and absorb.
Screenshots can be used for a variety of purposes such as:
- Recording an error message sharing;
- Sharing an image or text on social media;
- Providing proof of an online transaction;
How To Screenshot On Dell Laptops And Computers
Dell laptops and computers run on the Windows operating system, which provides several built-in methods for taking screenshots. Here are a few common methods for taking screenshots on Dell laptops and computers:

Method 1: Using the Print Screen Key
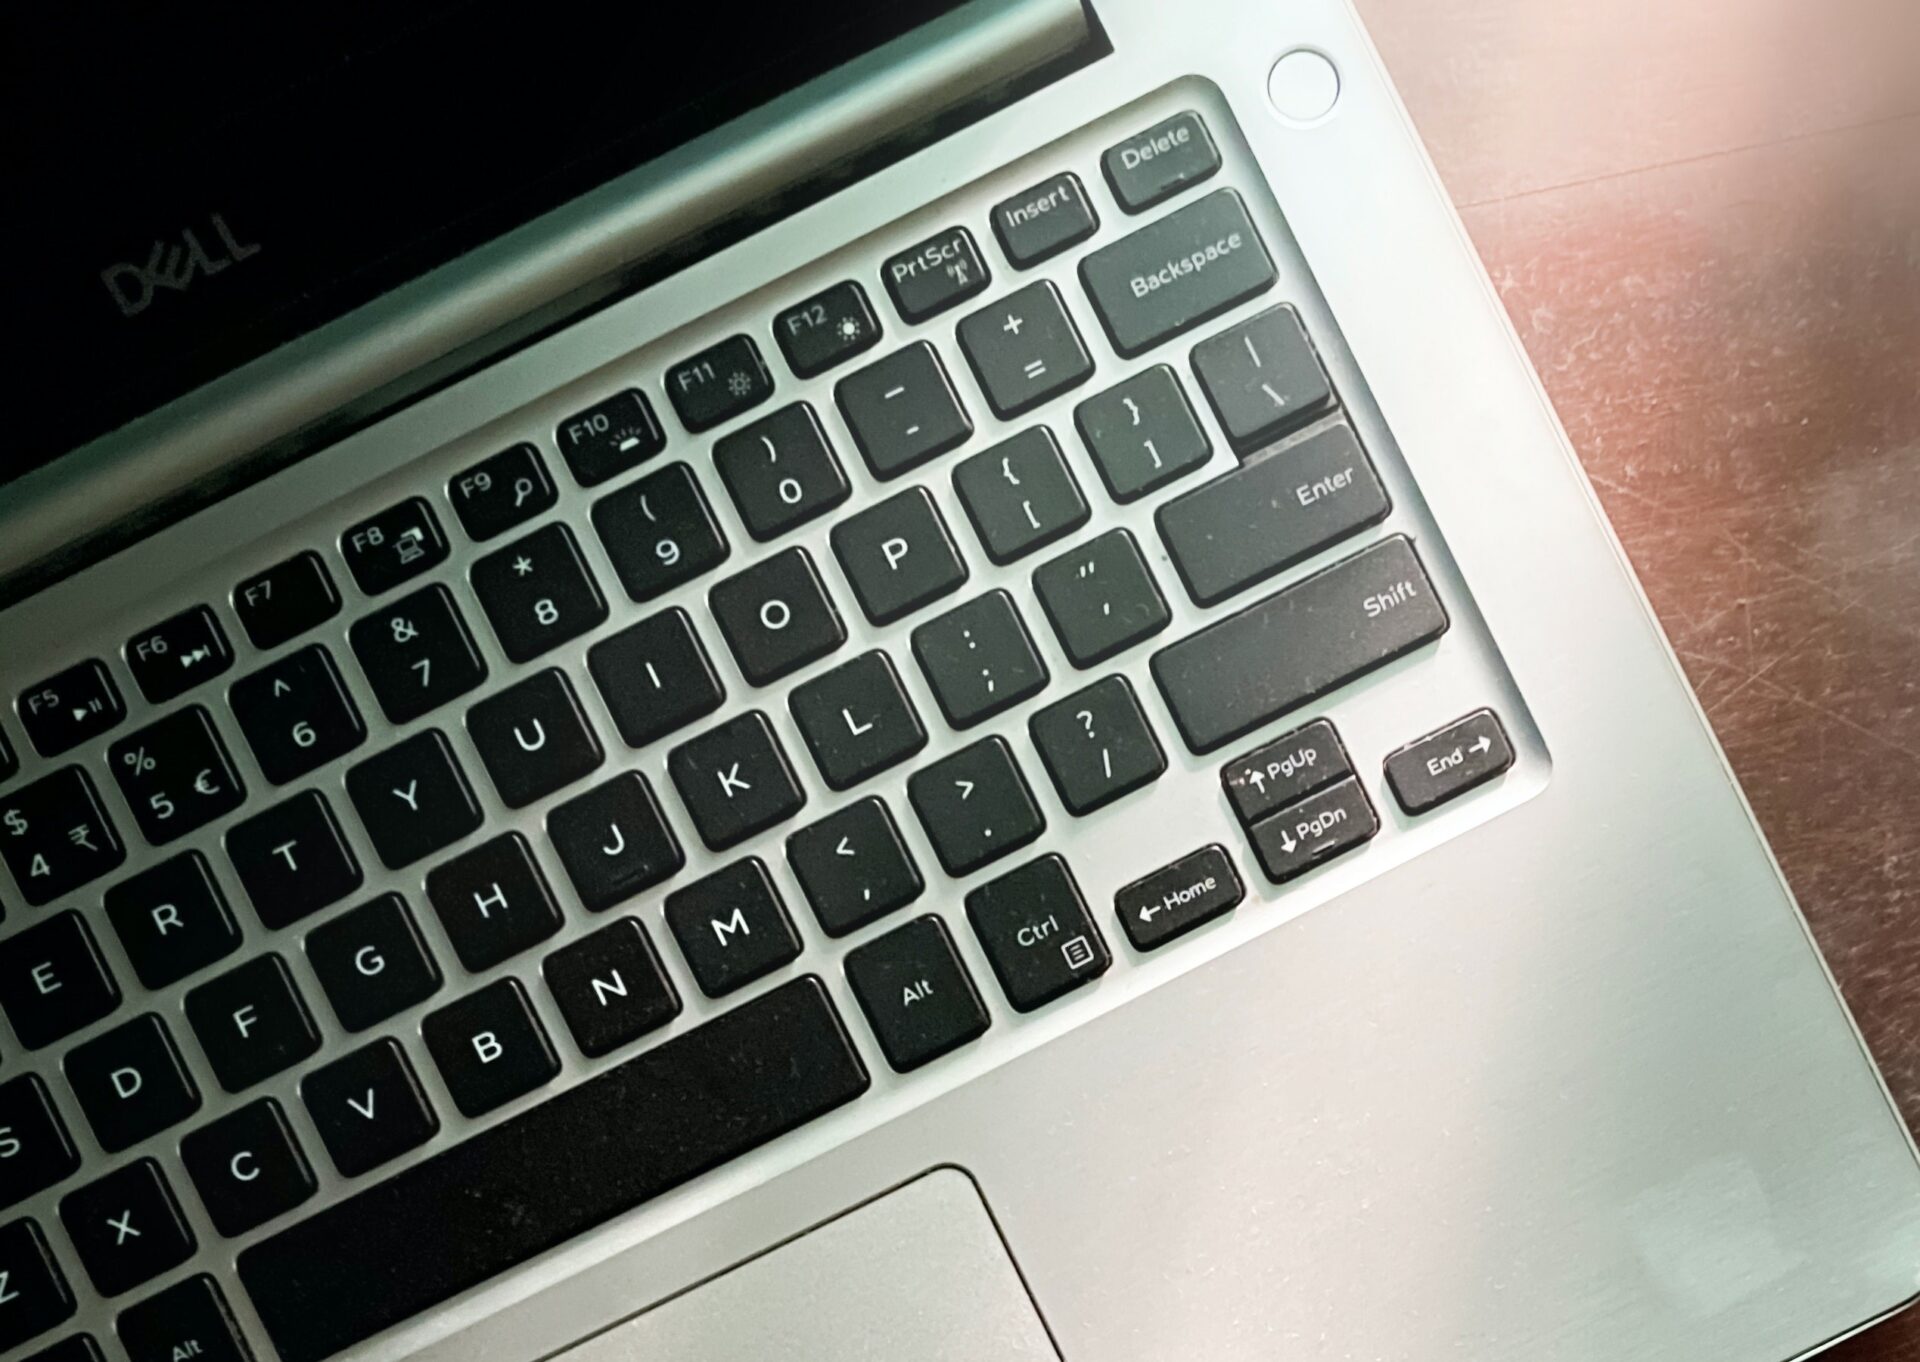
The most common way to take a screenshot on a Dell computer is by using the Print Screen key , “PrtScn” or “Print Sc“. Dell laptops usually mark the Print Screen key as ‘Prt Sc’. You will find the key on the top row of your keyboard, near the function keys. To take a screenshot, simply press the Print Screen key.
The image will go to your clipboard, which you can then paste into an image editing program or document. This method applies to all Dell laptops models, such as Dell Inspiron 15, Dell Latitude E5530 or any other Dell model.
Method 2: Using the Windows + Print Screen Key Combination
Another way to take a screenshot on a Dell computer is by using the Windows + Print Screen key combination. This method will save the screenshot as an image file on your computer, rather than saving it to the clipboard. To take a screenshot using this method, press the Windows key and the Print Screen key at the same time. Now go in the “Screenshots” folder in your “Pictures” library and you will find your picture.
Method 3: Using the Snipping Tool

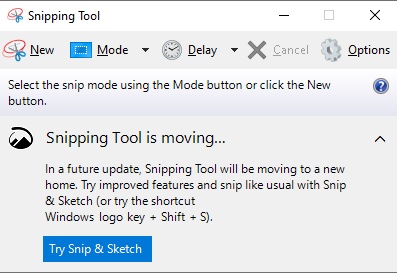
The Snipping Tool is a built-in program on Windows computers that allows you to capture specific areas of your screen. To use the Snipping Tool on a Dell computer, follow these steps:
- Open the Snipping Tool by searching for it in the start menu or by typing “snipping tool” into the search bar on the taskbar.
- Click on the “New” button to begin a new snip.
- Select the area of the screen that you want to capture by clicking and dragging your cursor over it.
- Once you’ve selected the area, release the mouse button to take the screenshot.
- The screenshot will move in the Snipping Tool program, where you can save or share it.
Method 4: Using a Third-Party Screenshot Tool
There are also many third-party screenshot tools available that you can use to take screenshots on your Dell computer. Some popular options include Lightshot or Nimbus Screenshot. These tools often offer more advanced features such as image editing, annotation, and sharing options.
Conclusion
In conclusion, taking a screenshot on a Dell laptop or desktop computer is a simple task, with multiple ways to achieve it. You can use the Print Screen key, the Windows + Print Screen key combination, the Snipping Tool, or a third-party screenshot tool. Each of these methods allows you to capture and save screenshots of your screen in different ways.


