Are you a gamer who wants to change the look and feel of your Minecraft character? One of the features that sets Minecraft apart from other games is the ability to customize the appearance of your character. Here’s a guide on how to change the skin on Minecraft.
Simple steps on How to Change the Skin on Minecraft
1. Find the perfect Skin
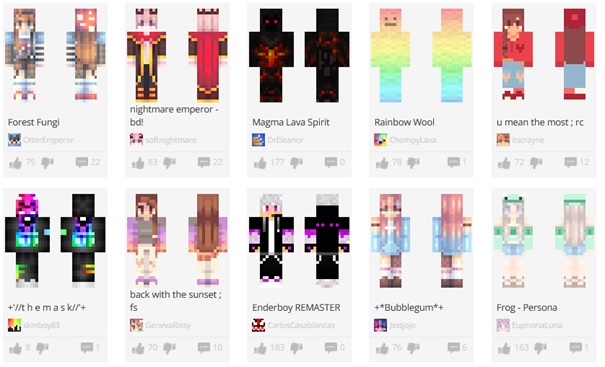
The first step in changing your skin in Minecraft is to choose a new skin. There are a variety of ways to find and select a new skin. One of the easiest ways is to visit a website that specializes in Minecraft skins. These websites allow you to browse through a wide selection of skins. You can easily search for a skin that matches your desired appearance.
Download Online
There are many sites to download skins for Minecraft. Some of the best ones are listed below. You can visit any of these sites to download skins for Minecraft:
For more info you can check the article “A Guide to Download and Install Skins in Minecraft“.
Create your Skin
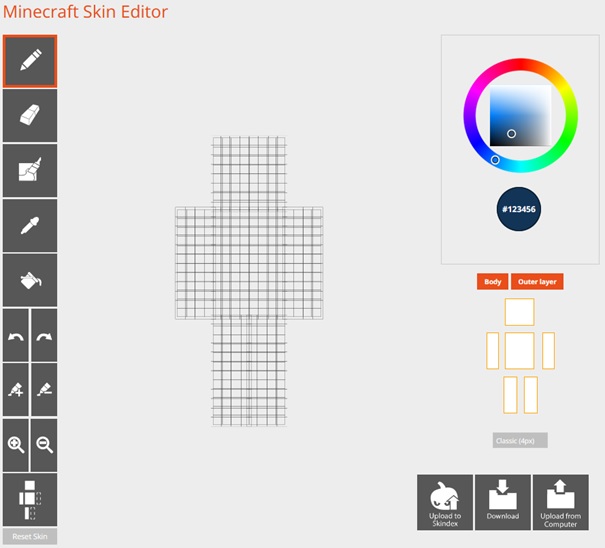
In addition to downloading and installing pre-made skins in Minecraft, players also have the option to create their own custom skins. If you’re willing to put in the work, making your own skin can be a fun and rewarding experience.
Here are a few ways to create a custom skin in Minecraft:
- Using Photoshop or a Similar Program
- Using a Browser-Based Tool
Once you have created your custom skin, you can then upload it to your Minecraft account and apply it to your character. With a little creativity and effort, you can create a truly unique skin that sets your character apart in the game.
2. How to Install New Skins in Minecraft
How to Change Skins in Minecraft on PC
Changing skins in Minecraft on PC is a simple process that allows you to customize the appearance of your character. Here is a step-by-step guide on how to change skins in Minecraft on PC:
- Head to the Minecraft website.
- Click the Menu icon and select Profile to log in with the account associated with Minecraft on your PC.
- Press the Browse button, select the file you downloaded earlier, and click Open.
- Click Save to upload your custom skin.
Once the custom skin has been uploaded, it will automatically be applied to your character in Minecraft on your PC. You can now start playing with your new skin and enjoy a fresh new look in the game. Keep in mind that if you want to change your skin again, you just need to repeat this process and upload a new skin.
How to Change Skins in Minecraft PE
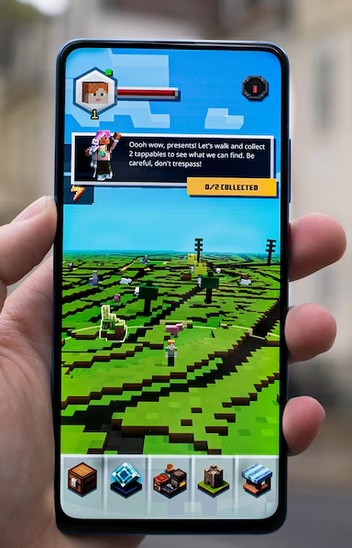
Changing skins in Minecraft PE, the mobile version of Minecraft, is a simple process that allows you to customize the appearance of your character. Here is a step-by-step guide on how to change skins in Minecraft PE. After you download the skin you’d like to apply to your character follow these steps:
- In the latest versions of iOS and Android, the download of the image file should begin automatically.
- Open Minecraft PE and tap the coat hanger icon in the lower-right corner of the display.
- Tap the blank skin icon in the top-left corner of the display.
- Tap Choose New Skin and select the file you downloaded earlier.
- Select the appropriate skin model (tap the one on the right if you’re unsure) and tap Confirm to apply your changes.
The selected skin should now be set as your character’s default. Keep in mind that if you want to change your skin again, you just need to repeat this process and download a new skin.
How to Change Skins in Minecraft on Console
Changing skins in Minecraft on console is a bit different from the process on PC or mobile devices. Without a way to store downloaded files on most consoles, players are unable to download and apply skins. However, there are still ways to change skins in Minecraft on console.
Here’s a step-by-step guide on how to change skins in Minecraft on console:
- Open Minecraft on your console.
- At the main menu, select Help & Options > Change Skin.
- Select a skin pack from the menu on the left.
- Select the skin you’d like to apply to your character. (If the selected skin isn’t free, you’ll be redirected to your platform’s Store to purchase it.)
- Once you’ve selected the skin, it should become the default skin for your character.

Troubleshooting Minecraft Skins
Changing skins in Minecraft is a simple process, but sometimes issues can arise. Here are a few common problems and troubleshooting steps to help you fix them:
Why does the website say that I have to pay to change my skin?
You’ll see this message if you are not currently logged into an account which contains a paid copy of Minecraft: Java Edition. If you can only play the demo, see Minecraft: Java Edition Demo Mode.
Why don’t I see my skin in multiplayer?
If you see the default skin in-game refresh by logging out and back in. If everyone’s skins show as the default, the server may be running in offline mode.
I uploaded a new skin, why didn’t my skin change?
Skin changes in Minecraft version 1.7.9 and later should happen immediately. If you are playing version 1.7.8 or an earlier version, skin changes may take up to an hour to be applied. If you are playing version 1.3 or earlier, skin changes will not be reflected in-game.
Why are there black lines on my skin’s arms?
You’ll see black lines on your skin’s arms in versions 1.8 and later. Your profile has a classic model selected, but you’ve uploaded a slim-armed skin. To fix this, visit Minecraft.net/profile and upload the correct skin type for the model you’ve selected.
You’ll also see this issue if you’ve uploaded a slim-armed skin prior to them being implemented in the game (versions 1.7.9 or earlier). To fix this, visit Minecraft.net/profile and upload a classic skin.
If you are still experiencing issues with your skin, try clearing your browser’s cache and cookies or trying a different browser. If the problem persists, it may be best to reach out to the Minecraft support team for further assistance.
Conclusion
In conclusion, changing the skin in Minecraft is a simple process that allows you to customize the appearance of your character. With the above steps, you can easily find, download, and apply a new skin to your Minecraft character.
